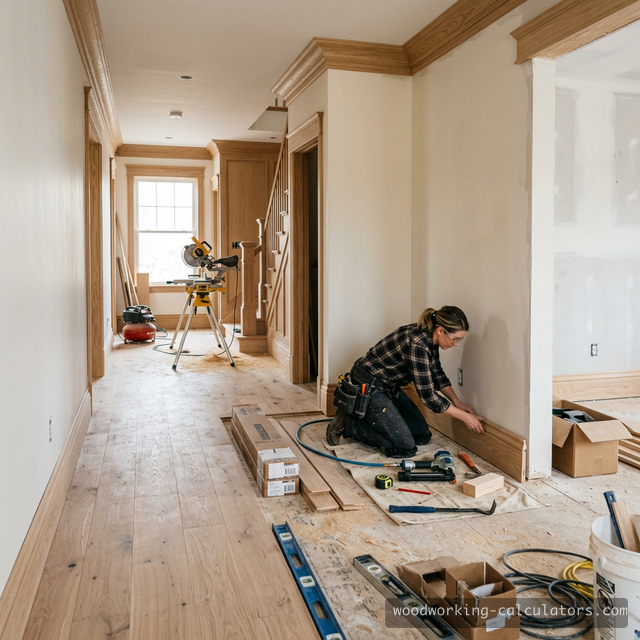
Home Renovation Woodworking Tools
From measuring existing spaces to installing trim and built-ins — every renovation woodworking step with the right calculator, because old houses never have perfect angles
Planning Workflow
Follow these steps with the right calculators at each stage
Measure Existing Spaces
Renovation work starts with measuring what you already have — and accepting that nothing is square. Measure each room wall-by-wall, noting door and window openings as you go. Check corner angles with a digital angle finder: in homes over 20 years old, corners can be 88-92 degrees, not the 90 you expect. Record ceiling heights at multiple points (they vary!). Calculate the lumber volume you will need for any framing modifications, and estimate board feet for trim stock. The more accurate your initial measurements, the fewer trips to the lumber yard.
Plan Trim & Molding
Trim is usually the largest woodworking component of a renovation. Calculate linear footage room-by-room: baseboard (every wall, minus door widths), crown molding (perimeter minus no-crown areas), chair rail, and door/window casing for each opening. A typical 3-bedroom home needs 400-600 linear feet of baseboard, 200-400 LF of crown, and 120-200 LF of casing. Add 10-15% waste for cuts and defects. For crown molding, our compound angle calculator is essential — it gives you exact miter and bevel settings for your specific spring angle (38/52 is most common).
Design Built-in Features
Built-in bookcases, window seats, and storage closets are what transform a renovation from basic to custom. Start with shelf span calculations: a 3/4-inch plywood shelf spanning 36 inches is at the upper limit for moderate loads — books and heavy items will cause visible sag within a year without reinforcement or a center support. Plan material: face frames use solid wood (calculate board feet), while cabinet boxes use plywood (calculate sheets). Don't forget to verify that your built-in fits the actual wall dimensions — out-of-plumb walls may require scribing.
Plan Finishing
Renovation finishing has a unique challenge: matching existing trim and woodwork. Calculate stain and topcoat for all new trim, built-ins, and repaired surfaces separately. If painting, you will need primer on all new wood and bare patches, typically 350-400 sq ft per gallon. For staining, test your product on scrap of the same species — different batches of wood absorb stain differently. Track all surfaces: 600 LF of baseboard at 5.5 inches high is roughly 275 square feet of surface to finish, just for baseboards.
Build Renovation Budget
Renovation budgets are notorious for overruns — the average home renovation exceeds its original estimate by 10-20%. Counter this by totaling every line item before you start: trim stock (typically $1-4 per linear foot), sheet goods for built-ins ($45-100 per sheet depending on species and grade), solid wood for face frames ($4-10 per BF), hardware, finish materials, adhesives, and fasteners. Add a labor estimate if hiring, and always apply a 15-20% contingency for the unexpected issues that renovations inevitably reveal (hidden rot, uneven walls, subfloor surprises). Our total cost calculator breaks this down so you present an honest number.
All Related Calculators
Crown Molding Calculator
Calculate compound miter and bevel angles for crown molding installation. Supports all standard spring angles (38/52, 45/45, 52/38) and handles inside corners, outside corners, and cathedral ceilings.
Moulding Linear Feet Calculator
Calculate total linear footage for baseboard, chair rail, crown, window casing, and door casing with room-by-room breakdowns and waste factors built in.
Miter Angle Calculator
Calculate precise miter angles for any corner junction. Handles non-90-degree walls, polygon shapes, and bay window angles that are common in renovation work.
Shelf Span Calculator
Determine maximum shelf spans by material type, thickness, and expected load. Essential for built-in bookcases, pantry shelving, and closet organizers.
Plywood Sheet Calculator
Calculate plywood needs for built-in cabinets, closet systems, and storage units. Optimize cutting layouts for efficient material use.
Wood Finish Calculator
Calculate finish material for all trim surfaces, built-ins, and repaired woodwork. Account for primer, stain, and multiple topcoat layers.
Project Total Cost Calculator
Comprehensive budget calculator covering all material categories, labor, hardware, and contingency. Generates line-item breakdowns for homeowner approval.
Lumber Cost Calculator
Estimate costs for trim stock, framing lumber, and solid wood with species-specific pricing. Compare premium vs budget material options.
Need More Tools?
Browse our complete collection of 55+ professional woodworking calculators