Wood Finishing Guide
The finish makes or breaks a project — choose the right product, prepare the surface properly, and apply it correctly for results that last decades
Finish Types Compared
| Finish | Type | Durability | Ease | Appearance | Best For |
|---|---|---|---|---|---|
| Oil-based Polyurethane | Film | ⭐⭐⭐⭐⭐ | ⭐⭐⭐ | Warm amber, slight plastic look | Tabletops, floors, high-wear |
| Water-based Poly | Film | ⭐⭐⭐⭐ | ⭐⭐⭐⭐ | Crystal clear, no ambering | Light woods, contemporary |
| Lacquer (spray) | Film | ⭐⭐⭐⭐ | ⭐⭐ | Professional glass-smooth | Cabinets, pro furniture |
| Shellac | Film | ⭐⭐ | ⭐⭐⭐⭐ | Warm glow, French polish lustre | Antiques, clocks, instruments |
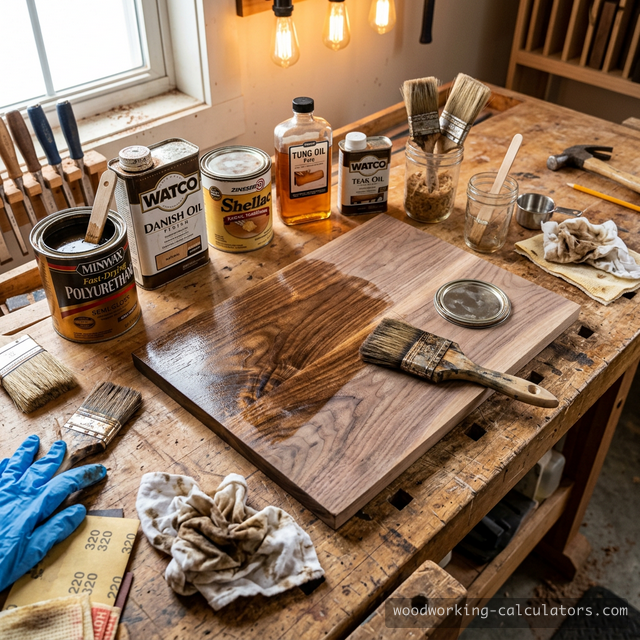
| Danish Oil | Penetrating | ⭐⭐⭐ | ⭐⭐⭐⭐⭐ | Natural, enhances grain | Walnut furniture, hand tools |
| Tung Oil (pure) | Penetrating | ⭐⭐⭐ | ⭐⭐⭐ | Matte, natural, deepens tone | Outdoor, food-safe (cured) |
| Paste Wax | Surface | ⭐ | ⭐⭐⭐⭐⭐ | Satin, silky feel | Topcoat over other finishes |
How to Choose a Finish
Match the finish to the use case, not the species. Ask three questions:
- How much abuse will it take? Dining tables and floors need film finishes (polyurethane, lacquer). Display pieces can use oil or shellac.
- Do you want to see the finish? Film finishes create a visible surface layer. Oil finishes make wood look "unfinished" — the wood itself is what you see and touch.
- Can you spray, or only brush/wipe? Lacquer requires spray equipment and ventilation. Polyurethane and oils work with a brush or rag.
Polyurethane (Most Popular)
Oil-based polyurethane is the most popular furniture finish for good reason: it is tough, waterproof, and widely available. Apply 3 coats minimum — first coat seals the wood, second builds thickness, third provides the working surface. Sand with 220 grit between coats. Full cure: 30 days (it is dry to touch in 24 hours, but not fully hardened). Oil-based adds a warm amber tone that deepens with age; water-based stays crystal clear — use water-based on maple and ash to preserve their light color.
Danish Oil / Tung Oil Blends
Wipe-on finishes that penetrate the wood and cure inside the pores. Dead simple to apply: flood the surface, wait 15-30 minutes, wipe off the excess. Zero brush marks, zero drips. They bring out grain beautifully, especially in walnut and cherry. The trade-off: less surface protection than film finishes. Plan to refresh oil finishes every 1-2 years on high-use surfaces.
Shellac
The oldest and most forgiving film finish. Dissolves in denatured alcohol — if you make a mistake, you just re-dissolve it and start over. French polishing (shellac applied with a pad in overlapping circles) produces the most beautiful finish in all of woodworking, but takes practice and patience. Weakness: shellac dissolves in alcohol and is damaged by water rings. Not suitable for bar tops or kitchen surfaces.
Surface Preparation
Surface preparation is 80% of a good finish. Shortcuts here are visible forever.
- Sand progressively: 80 grit to remove mill marks → 120 to smooth → 150 to refine → 180 for oil finishes or 220 for film finishes. Never skip more than one grit step.
- Sand with the grain ONLY. Cross-grain scratches telegraphed through finish are the most common amateur mistake. They are invisible on raw wood but light up like neon under stain or topcoat.
- Raise the grain: After final sanding, wipe with a damp cloth and let dry. The moisture raises wood fibers. Sand again lightly with your final grit to knock them down. Now your first coat of finish will not raise the grain.
- Remove all dust: Use a tack cloth or compressed air, then wipe with a lightly dampened microfiber cloth. Any dust particle becomes a permanent bump in your finish.
Application Tips
For brushing polyurethane: Use a high-quality natural bristle brush for oil-based, synthetic bristle for water-based. Thin the first coat 10-15% with mineral spirits — it penetrates better and provides a superior base. Lay on in long, even strokes. Do NOT go back and re-brush areas that are starting to tack — you will create drag marks.
For wiping oil finishes: Apply liberally with a cotton rag, let soak 15-30 minutes, then wipe off ALL excess. Any oil remaining on the surface dries as a sticky, uneven film. Between coats (2-3 coats recommended), lightly sand with 320 grit or a Scotch-Brite pad.
⚠️ Safety warning: Oil-soaked rags generate heat as the oil cures and can spontaneously combust. Spread used rags flat to dry outdoors or submerge in water. Never ball up and throw in the trash.
Food-Safe Finishes
For cutting boards, serving trays, and utensils — items that contact food:
- Mineral oil: The simplest food-safe finish. Apply monthly — it never fully cures, so it needs regular replenishment. $5-8 per bottle that lasts 20+ applications.
- Mineral oil + beeswax blend: The gold standard for cutting boards. The wax adds a protective layer and pleasant feel. Apply every 1-2 months with use.
- Walnut oil: Technically food-safe and cures to a harder film than mineral oil, but takes 3-5 days to fully cure. Note: can trigger nut allergies.
- Pure tung oil: Food-safe once fully cured (30 days). More durable than mineral oil but much slower to apply and cure.
Important: All film finishes (polyurethane, lacquer, shellac) are considered food-safe once fully cured (30+ days). The FDA does not regulate them as "food contact." However, they will chip and flake on cutting boards with knife use — stick with penetrating oil finishes for cutting surfaces.
Recommended Calculators
Wood Finish Calculator
Calculate finish material for any project — coverage rates adjusted by finish type, wood species, and number of coats.
Stain Coverage Calculator
Estimate stain quantities by species and surface area. Open-pore woods absorb 30-40% more stain than closed-pore.
Sandpaper Requirement Calculator
Plan sandpaper needs through progressive grits. Calculate sheets per grit and account for tool sanding vs hand sanding.
Finish Drying Time Calculator
Estimate dry-to-touch and full cure times by finish type, temperature, and humidity. Cold and humid conditions dramatically slow curing.
Project Total Cost Calculator
Budget finish materials including primer, stain, topcoat, sandpaper, rags, and brushes. Finishing supplies add $30-100 to most projects.
Wood Density Calculator
Open-pore vs closed-pore species determines finish absorption. Check density to predict how much finish your wood will drink.